Blog

While normal landscapes may not seem particularly hard to navigate, many seniors have limited mobility which can make even slightly steep slopes hard and even dangerous to climb. To allow the seniors at home to enjoy the outdoor space, it’s crucial to make your landscape safe and accessible. While some may think it’s just a matter of keeping the path even and flat, there’s actually a lot more to it than you might think. If you’re ready to turn your landscape into the ultimate senior-friendly landscape, then jump right in! Understanding The Needs Of The Elderly Besides merely mobility, the elderly have other needs that need to be met. Knowing what they are is the first step to landscaping a garden that meets their needs. First off, as we grow older, our bodies will start to deteriorate–if we let them. In order to slow down this deterioration, keeping active both physically and mentally is key. And gardens achieve both of that. Other than walking through the garden to get their heart rate up a little, tending to it also keeps seniors active mentally and physically. Tasks like pruning, watering, and planting all help keep their fine motor skills sharp while giving them more physical activity. Second, as seniors get older, it’s easy to feel lonely, especially if they’re living alone, as they don’t go to work, and if they don’t meet their friends either, with no family at home most of the time, they have little social interaction every day. Having an outdoor space where they can invite their friends over or host gatherings can be hugely beneficial to their mental health. Now that you know the problems the elderly may face, here are ways to address them with your landscape. 1. Paths
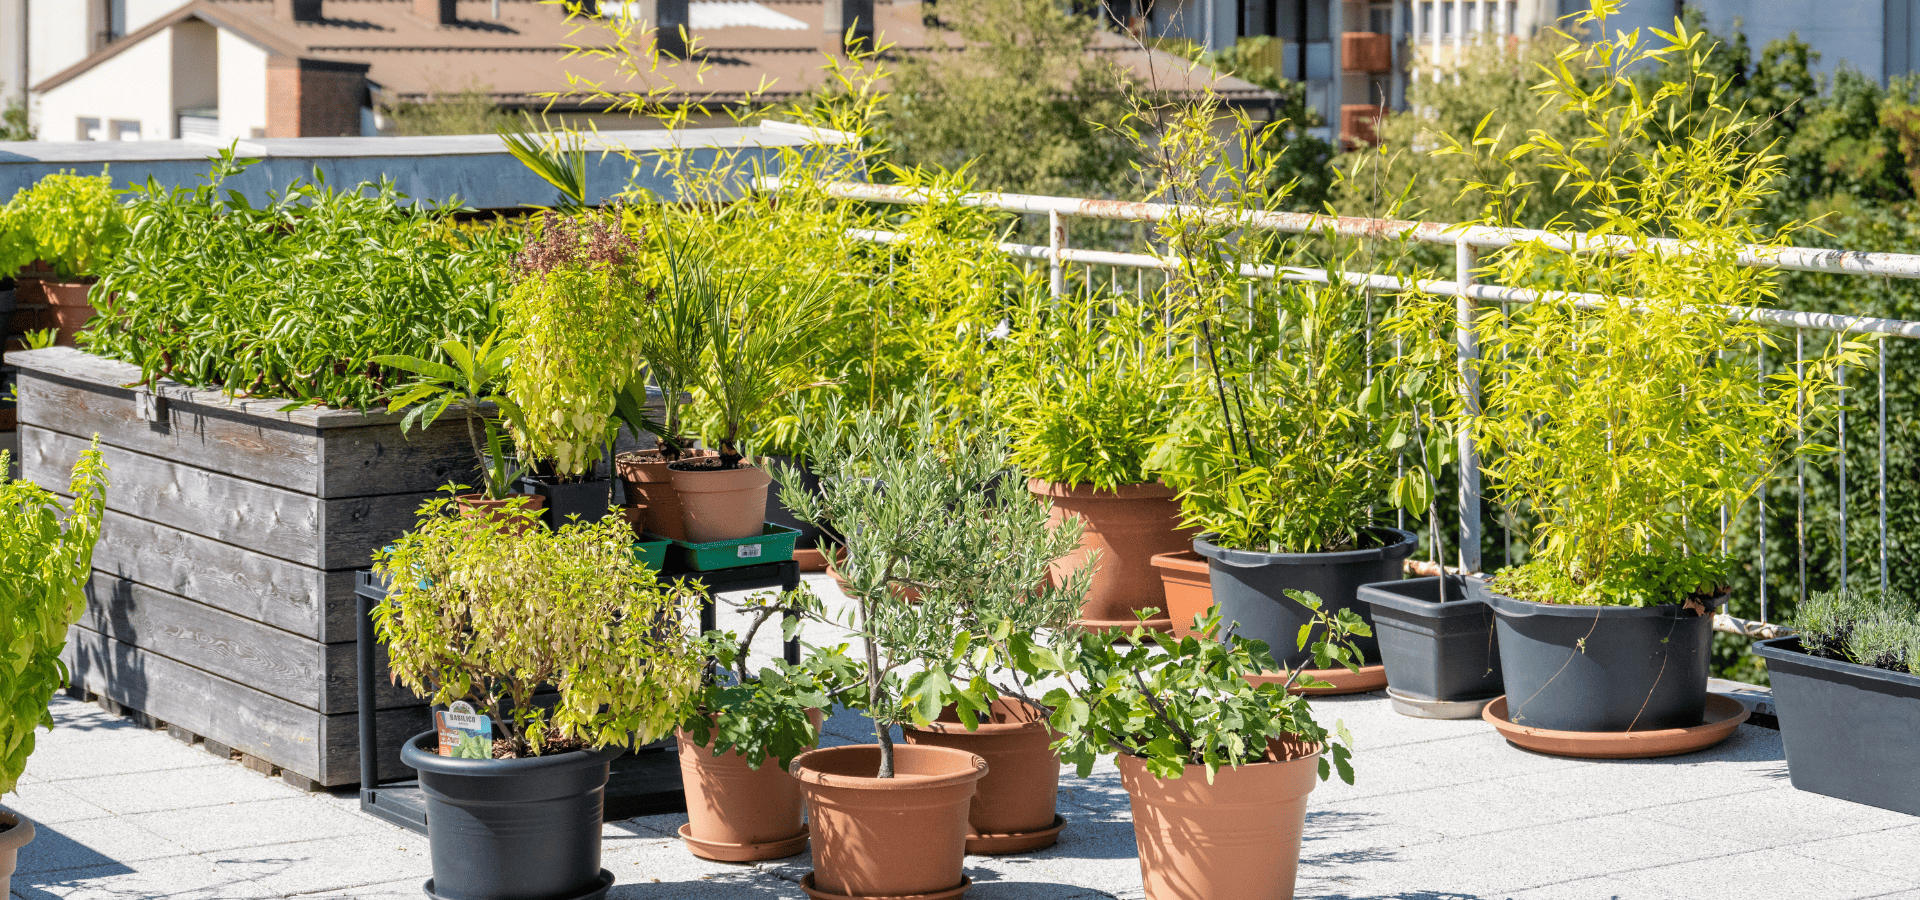
If you’re staying in an apartment or a condominium or you just don’t have a yard, there’s no way you can have a garden. That is unless you grow it on your rooftop! Besides balcony landscapes, rooftop gardens are often the only way for anyone to have a garden in metropolitan cities, where land is scarce and most people stay in multi-level buildings with no yards. You may also have a multi-level home that doesn’t have a yard, necessitating a garden on top of your roof . Either way, rooftop gardens are one of the best ways to enjoy the benefits of gardening when you don’t have a yard. You can do a lot with your rooftop space, and this article will teach you how to make the most out of it. Rooftop Gardens vs Normal Gardens
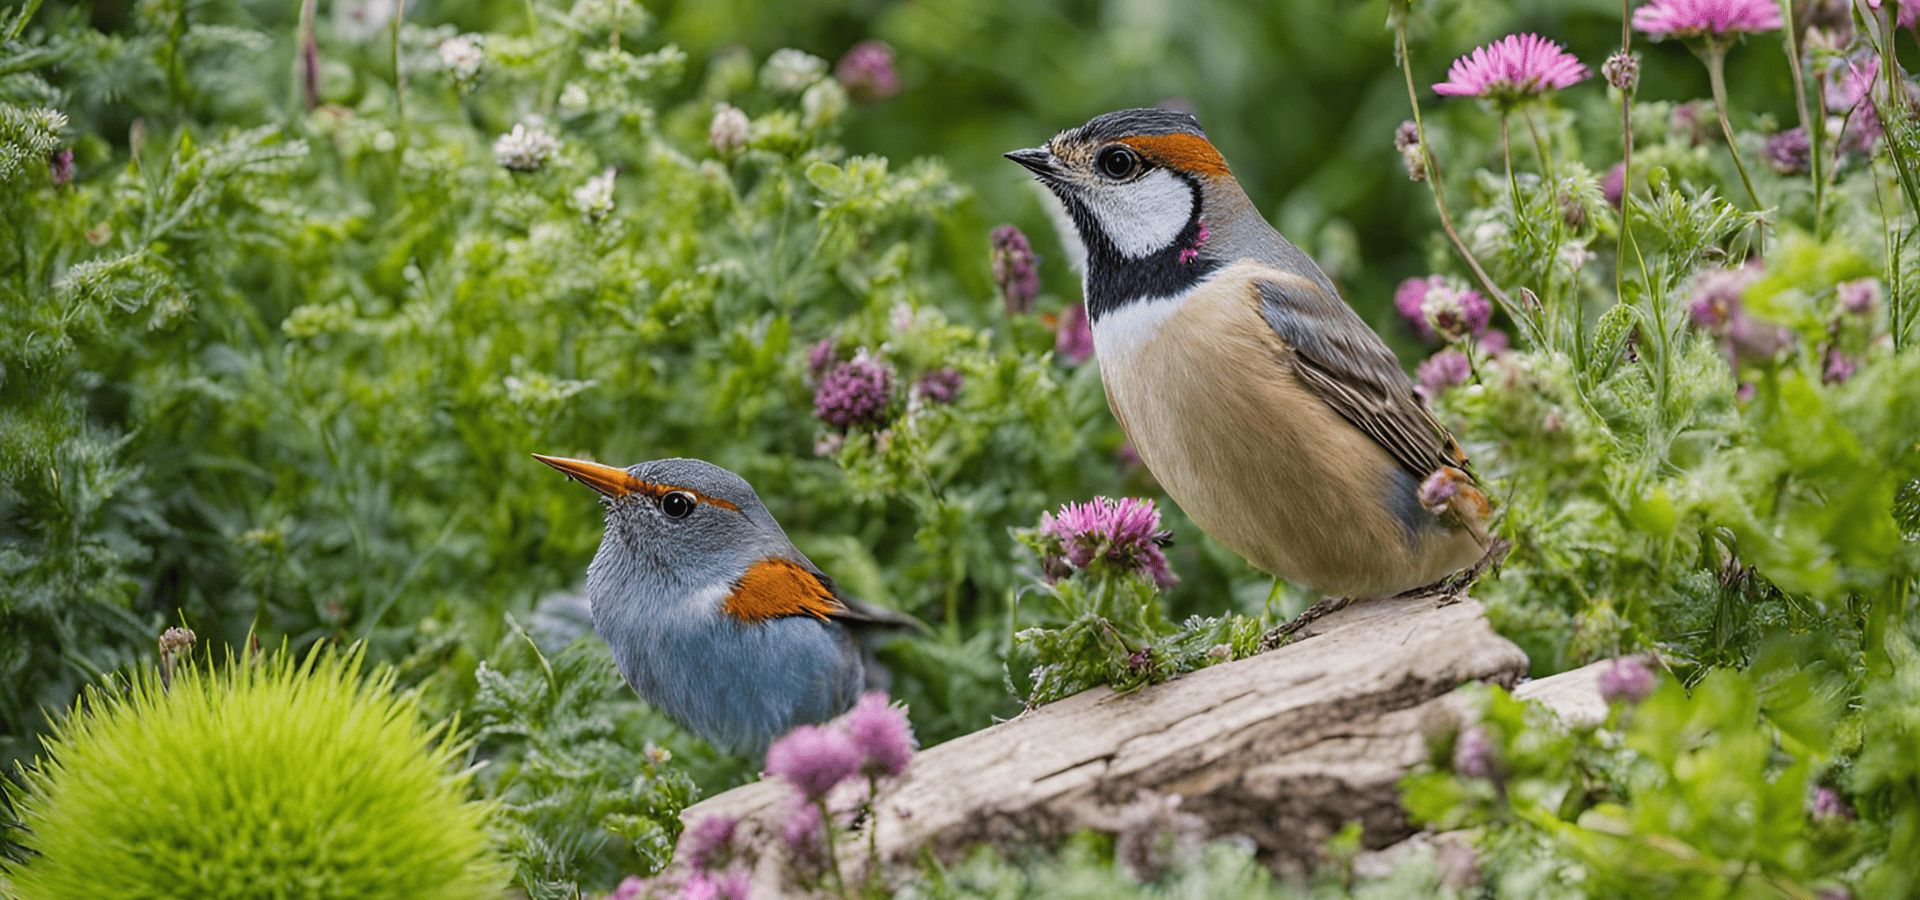
Wondering how to make your garden more wild-friendly? Then you’ve come to the right place! Whatever style your landscape is, from minimalist landscapes to cottage gardens, there are various ways to support your local biodiversity and make your garden more eco-friendly. So if you’re looking to do your part for the environment or just love seeing wildlife in your garden, don’t skip any part of this article. 1. What Makes Gardens Wildlife-Friendly? First things first, note that one wildlife-friendly garden can differ vastly in appearance from another wildlife-friendly garden. Wildlife-friendly garden landscaping isn’t a gardening or landscaping style or aesthetic. It’s the process of steps and practices that make your garden more wildlife-friendly. As such, it’s not about what a garden looks like, but what it can do for wildlife. So any landscaping style can be wildlife-friendly regardless of what they look like, they just need to support wildlife. Generally, there are 3 keys to a wildlife-friendly garden, and anything that works towards or directly achieves any one of those keys will make your garden more wildlife-friendly. Key 1: Plants That Support Wildlife
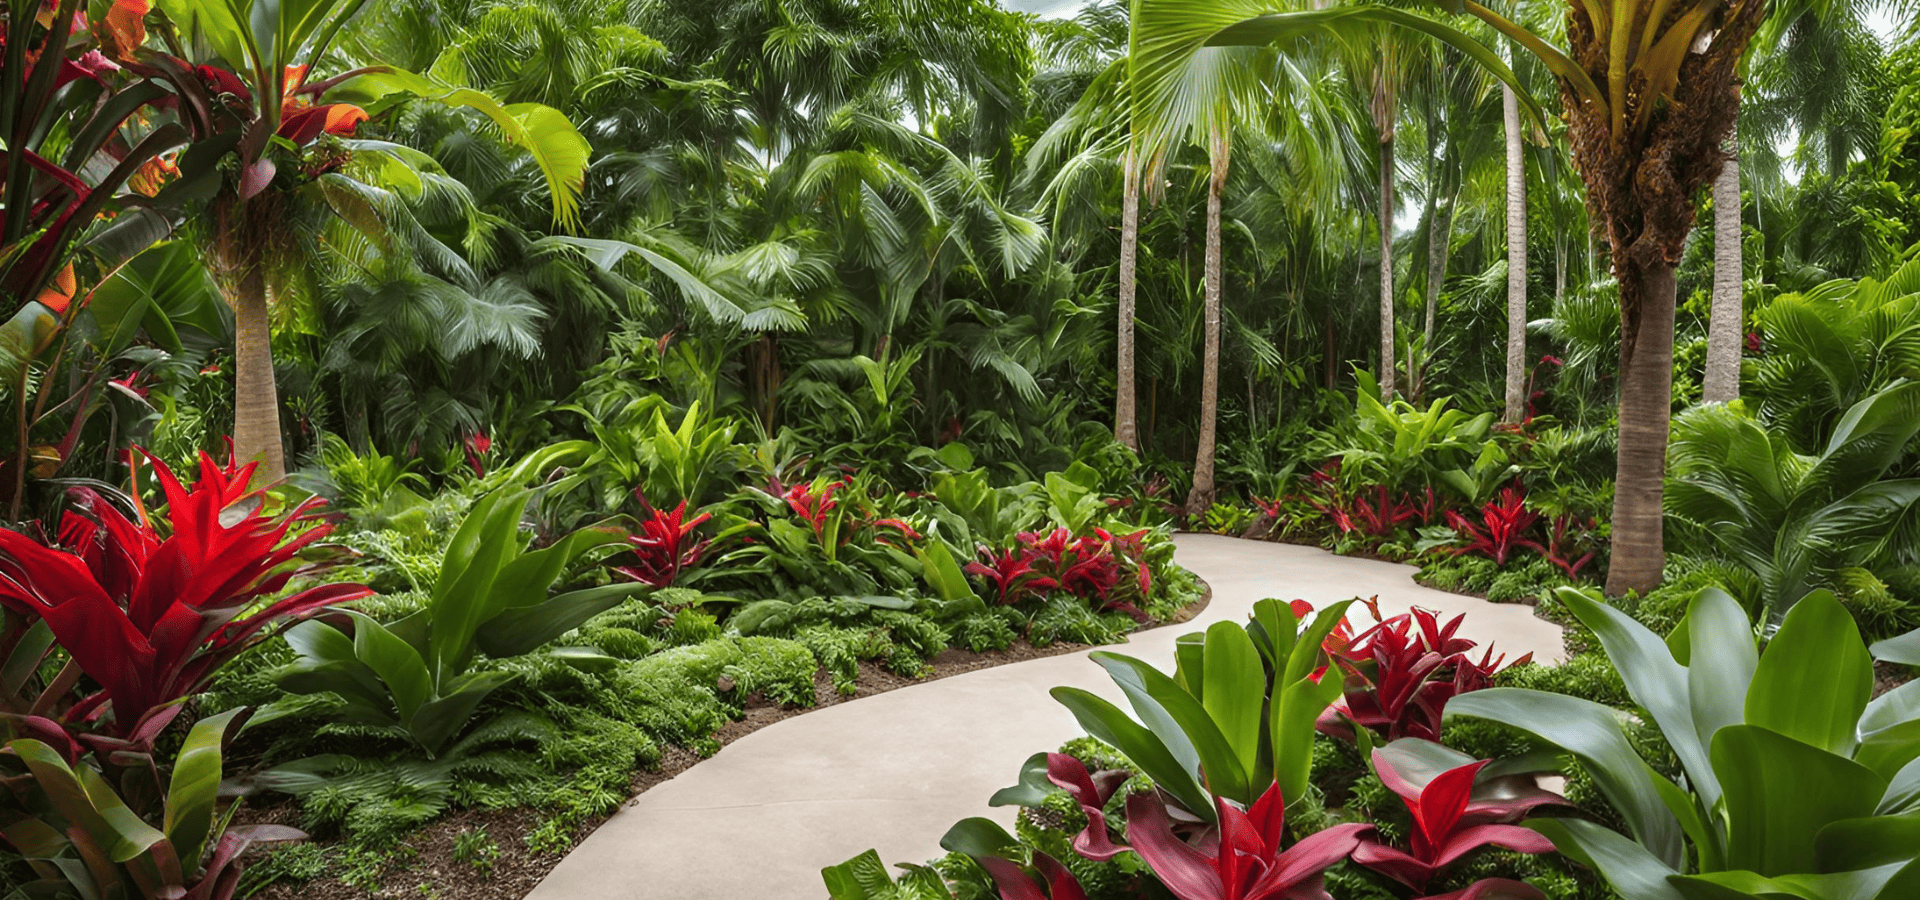
Want to feel like you’re in a villa in Hawaii or even Bali every time you walk into your backyard? Then get yourself a tropical garden! Tropical gardens bring a refreshing, invigorating vibe with their lush vegetation and vibrant colors. Done properly, you’ll feel like you’re walking into a tropical forest with cool, fresh air. For those looking to create their own mini tropical forest, this article will teach you exactly how. 1. Tropical Landscaping Pros & Cons
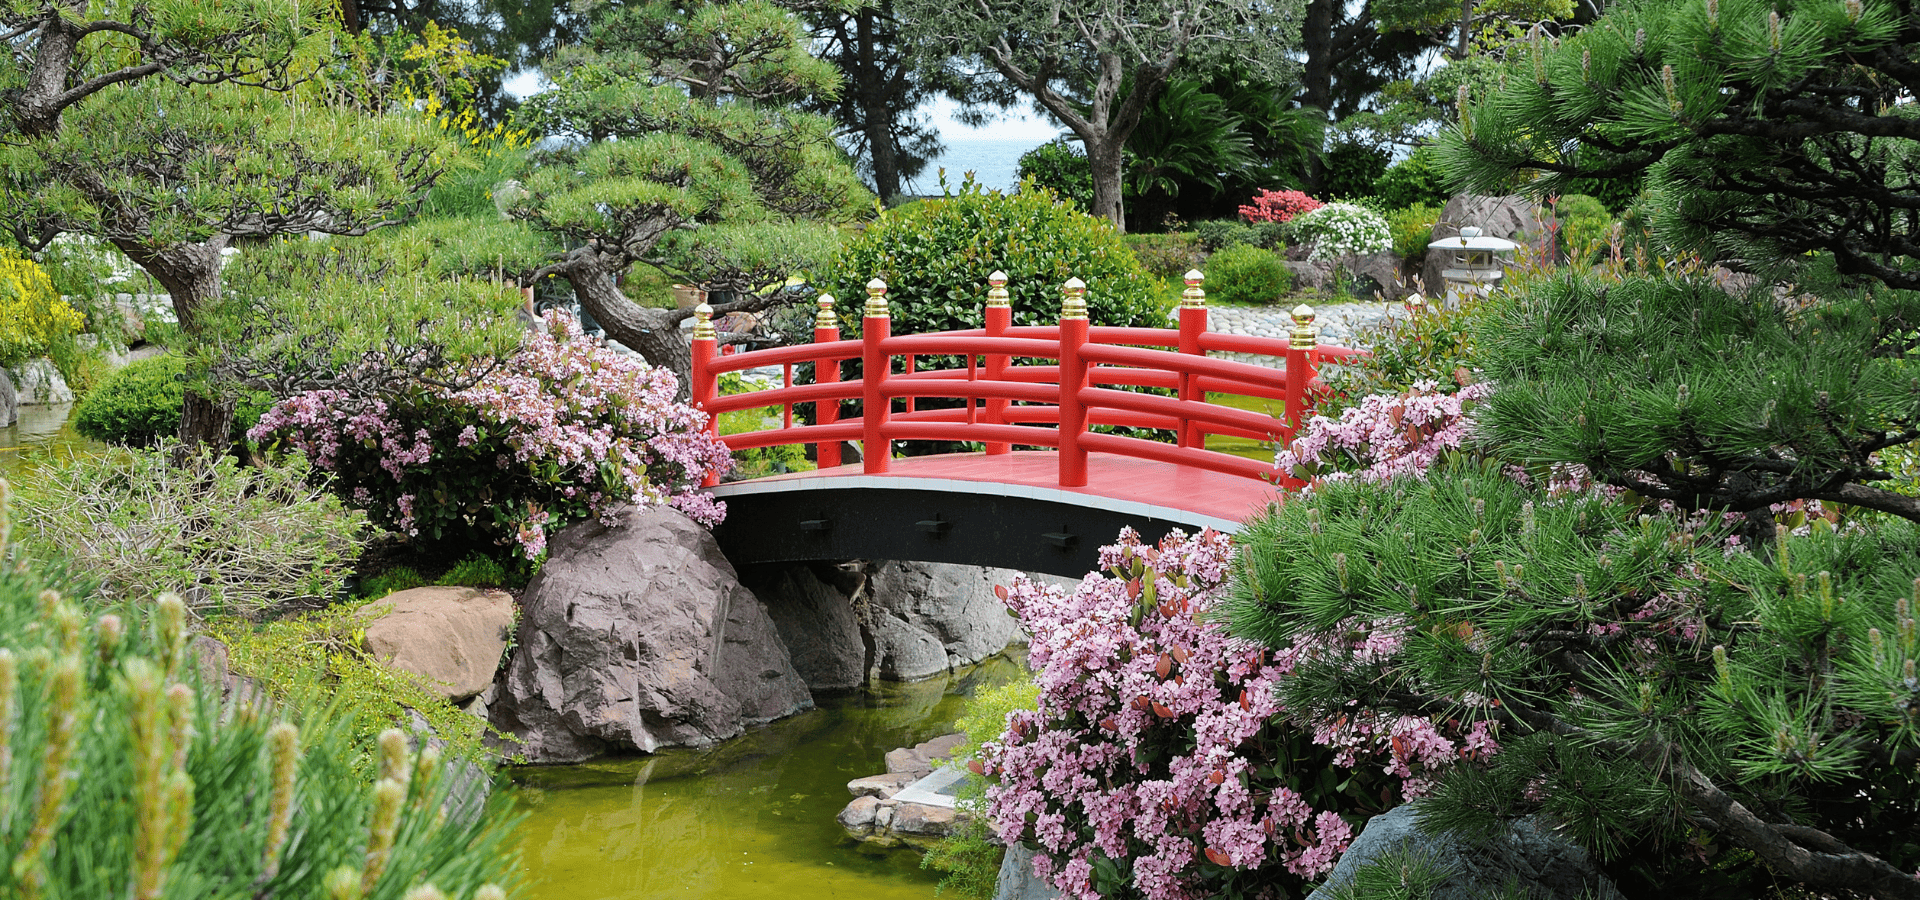
Japanese gardens are one of the most aesthetically pleasing gardens you can have. With their simple designs and use of symbolic Japanese elements, when done properly, a Japanese landscape transports you straight to Japan. Japanese gardens bring a certain sense of peace and calm and are perfect for quiet reflection or just a serene retreat in solitude. That said, they are also great places for quiet gatherings like a book session or just having a conversation over tea. So if you’re someone who loves peace and quiet, or just someone who appreciates a tranquil place to retreat to and get away from everything, read on to find out how to landscape your very own Japanese garden. 1. Do You Really Want A Japanese Landscape?
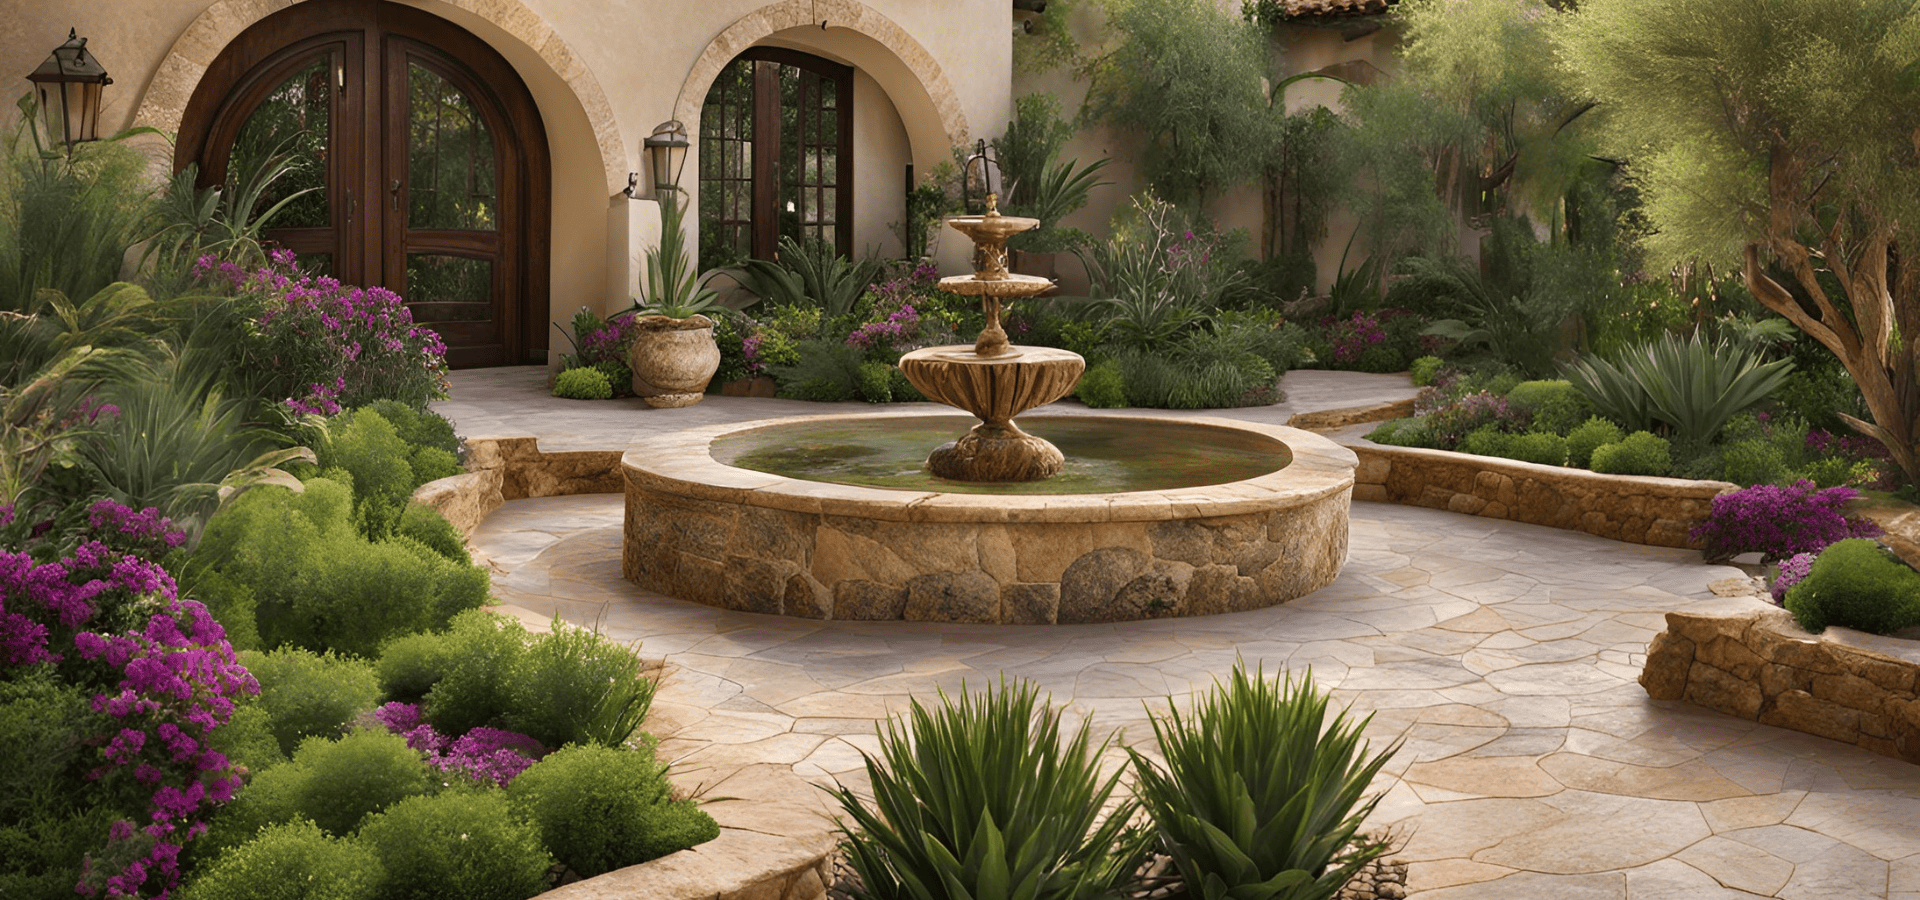
Mediterranean landscapes are one of the most functional landscapes, and they give off the vibe that the landscape is more of a functional space than an aesthetic one. The designs are usually simple and muted and made to require little maintenance, courtesy of the dry weather Mediterranean weather. Mediterranean gardens have a soft, timeless appeal to them though, which is why they’re so popular among homeowners. If you’re one of them, dive right in to find out exactly how to create the perfect Mediterranean landscape! 1. Pros And Cons As with any landscape, there’s both good and bad with Mediterranean gardens. This section will help you make an informed decision as to whether or not to have a Mediterranean-style outdoor space. Pros For the pros, we’ll be starting with the obvious ones. Functionality: As mentioned above, Mediterranean landscapes have functionality in mind. They’re designed to have an abundance of space for use and have plants take up less space. As such, your outdoor area is going to be much more practical. You’ll be able to conduct more activities and have much more use for your space rather than just a space that looks great. Low maintenance: Mediterranean gardens are inspired by the Mediterranean region, which means dry weather. As such, for plants to survive in that kind of climate, they need to be tough, drought-tolerant, and require little water to survive. This means you not only save on the water bills, but also have to perform less maintenance. Tireless beauty: Mediterranean gardens aren’t loud, bold, or particularly striking or stunning. Due to their quiet charm, you won’t tire of looking at them every day, and they won’t go out of style. Survivability in various climates : Given that these plants are tough enough to survive the harsh Mediterranean climate, this means that even if your area has a less hospitable environment, you’ll likely still be able to successfully have a thriving Mediterranean garden. Cons Now for the cons, there aren’t any real dealbreakers, but there are some things that you need to know before you go ahead with a Mediterranean garden. Cost: Mediterranean gardens will usually have fewer plants and more hardscapes. Since hardscapes can be a fair bit more pricey, you will have to be prepared to spend more upfront on your Mediterranean landscape. Not as impressive as other landscapes: While Mediterranean gardens have a timeless beauty that never gets old, they’re definitely not something that guests will be wowed by. They’re more of a style that guests appreciate for their simplicity and subtle charm. 2. Choosing The Right Plants
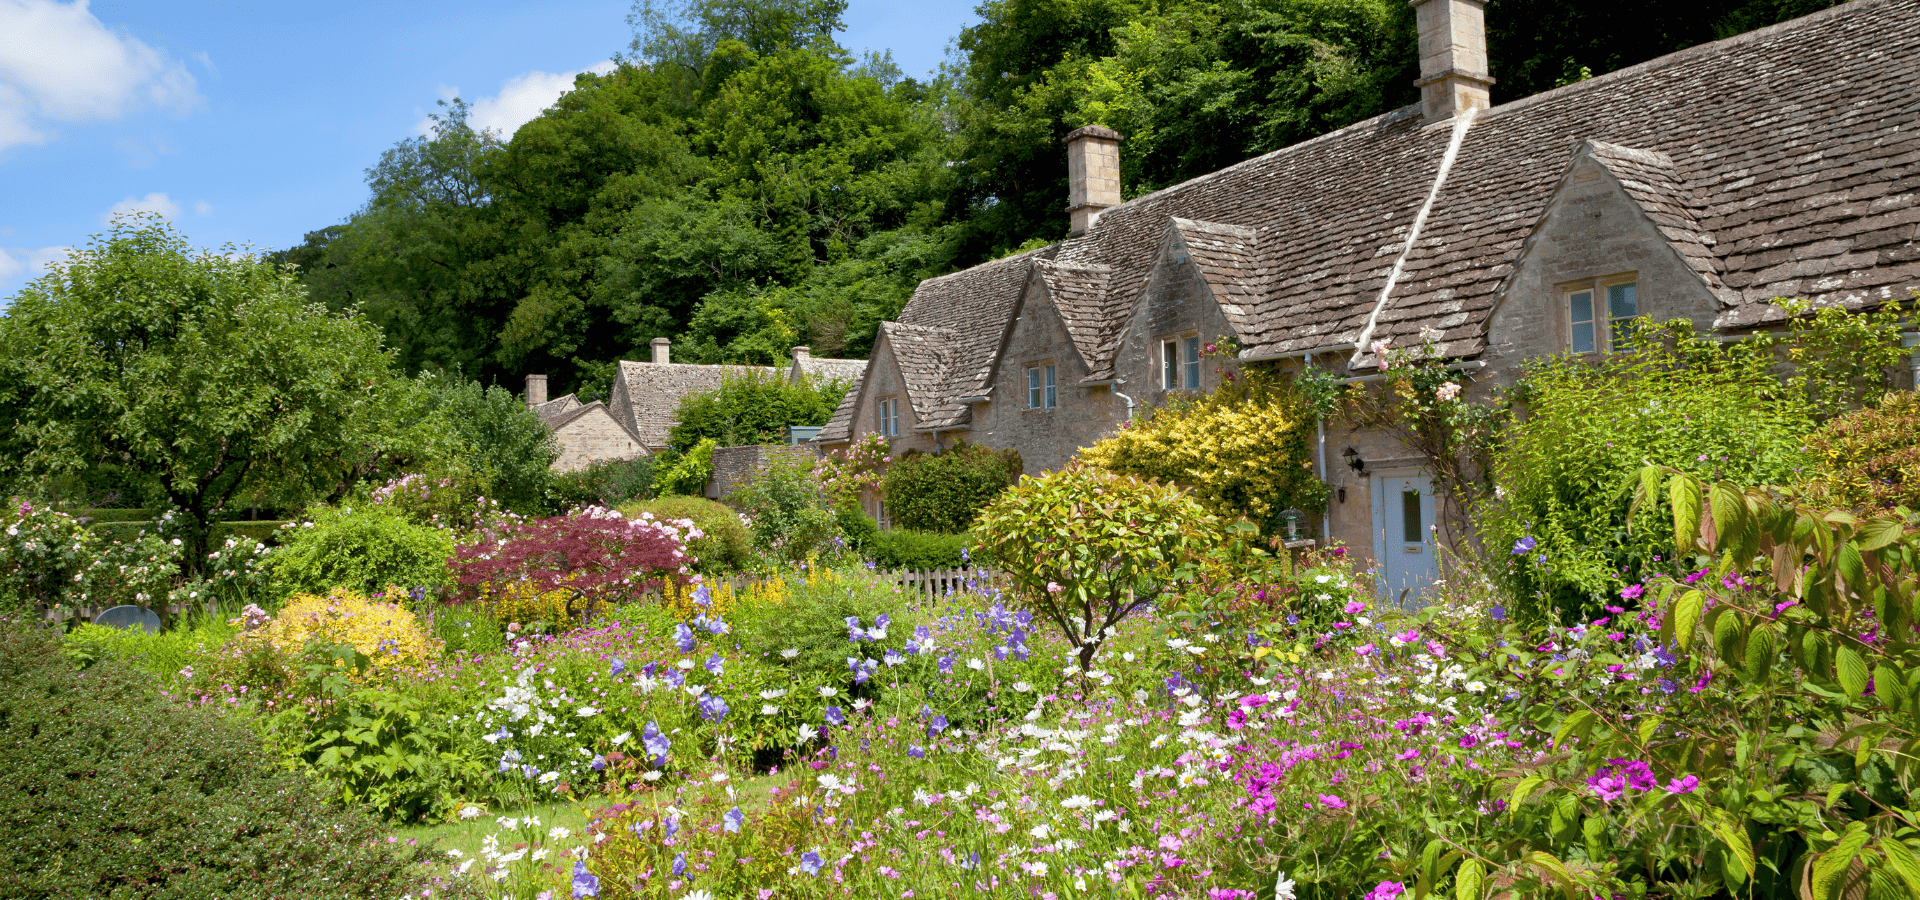
If you’ve ever watched The Hobbit, cottage gardens are exactly like that. With an abundance of bright, lively colors, cottage gardens make you feel like you’re living in the countryside, perhaps in a cottage. Cottage gardens bring a countryside vintage feel to your home and have a merry, simple charm to them. So if you want to transport your guests (and yourself) from the city to the peaceful, rural backcountry when they walk into your garden, keep reading to find out how! 1. Choosing The Colors While you’re going to have a wide variety of colors, that still doesn’t mean you can just throw in random colors and hope they go well together. For most cottage gardens, you’re going to be going with the bright shades of white, yellow, red, blue, purple, and pink. The more colors you have, the more lively and abundant your garden will look. But note that you don’t have to use all of them. Even using just a few is enough to get you the look you want, as long as the colors are bright and vibrant. 2. Choosing The Plants
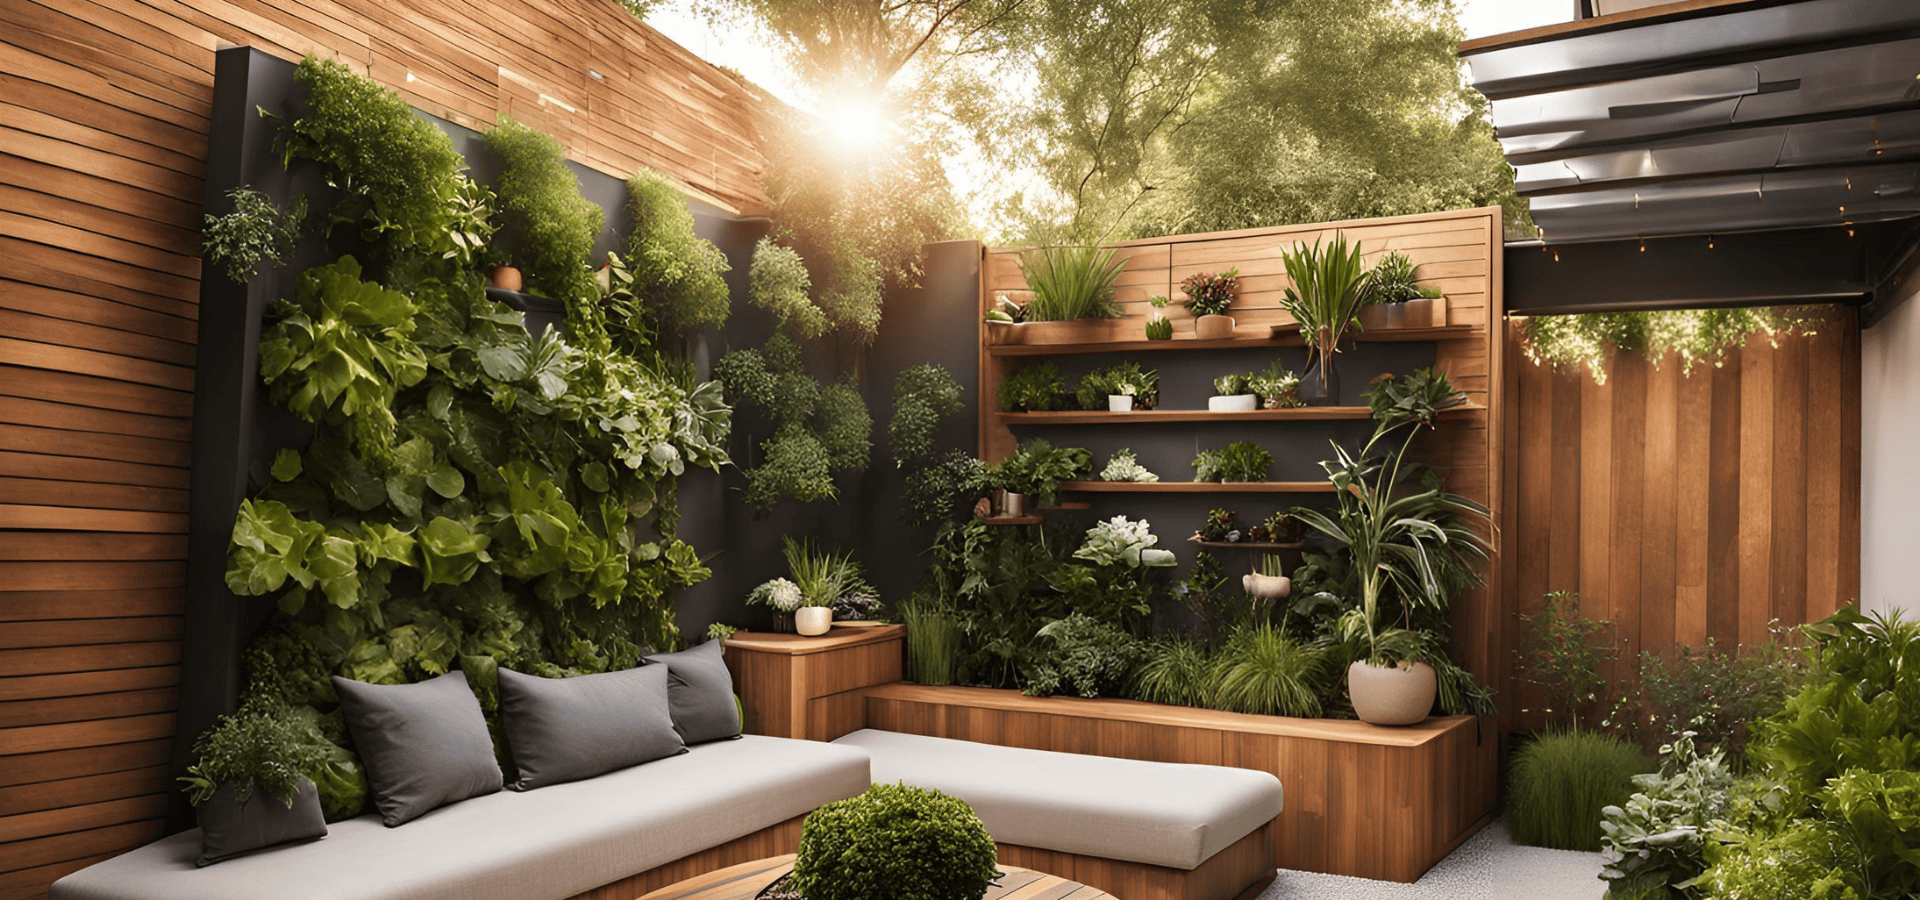
If you’re looking to start a vertical garden, you’re in the right place. Whether it’s to save space, or just to be able to fit more plants in your garden, vertical gardens offer plenty of benefits. Moreover, when done right, they look just as good as normal gardens. This guide will cover everything you need to know about vertical landscaping, from the various types and styles, to how to design, install, and maintain them . So if you’re ready to become an expert in vertical gardens, jump right in! 1. Why Vertical Landscaping?
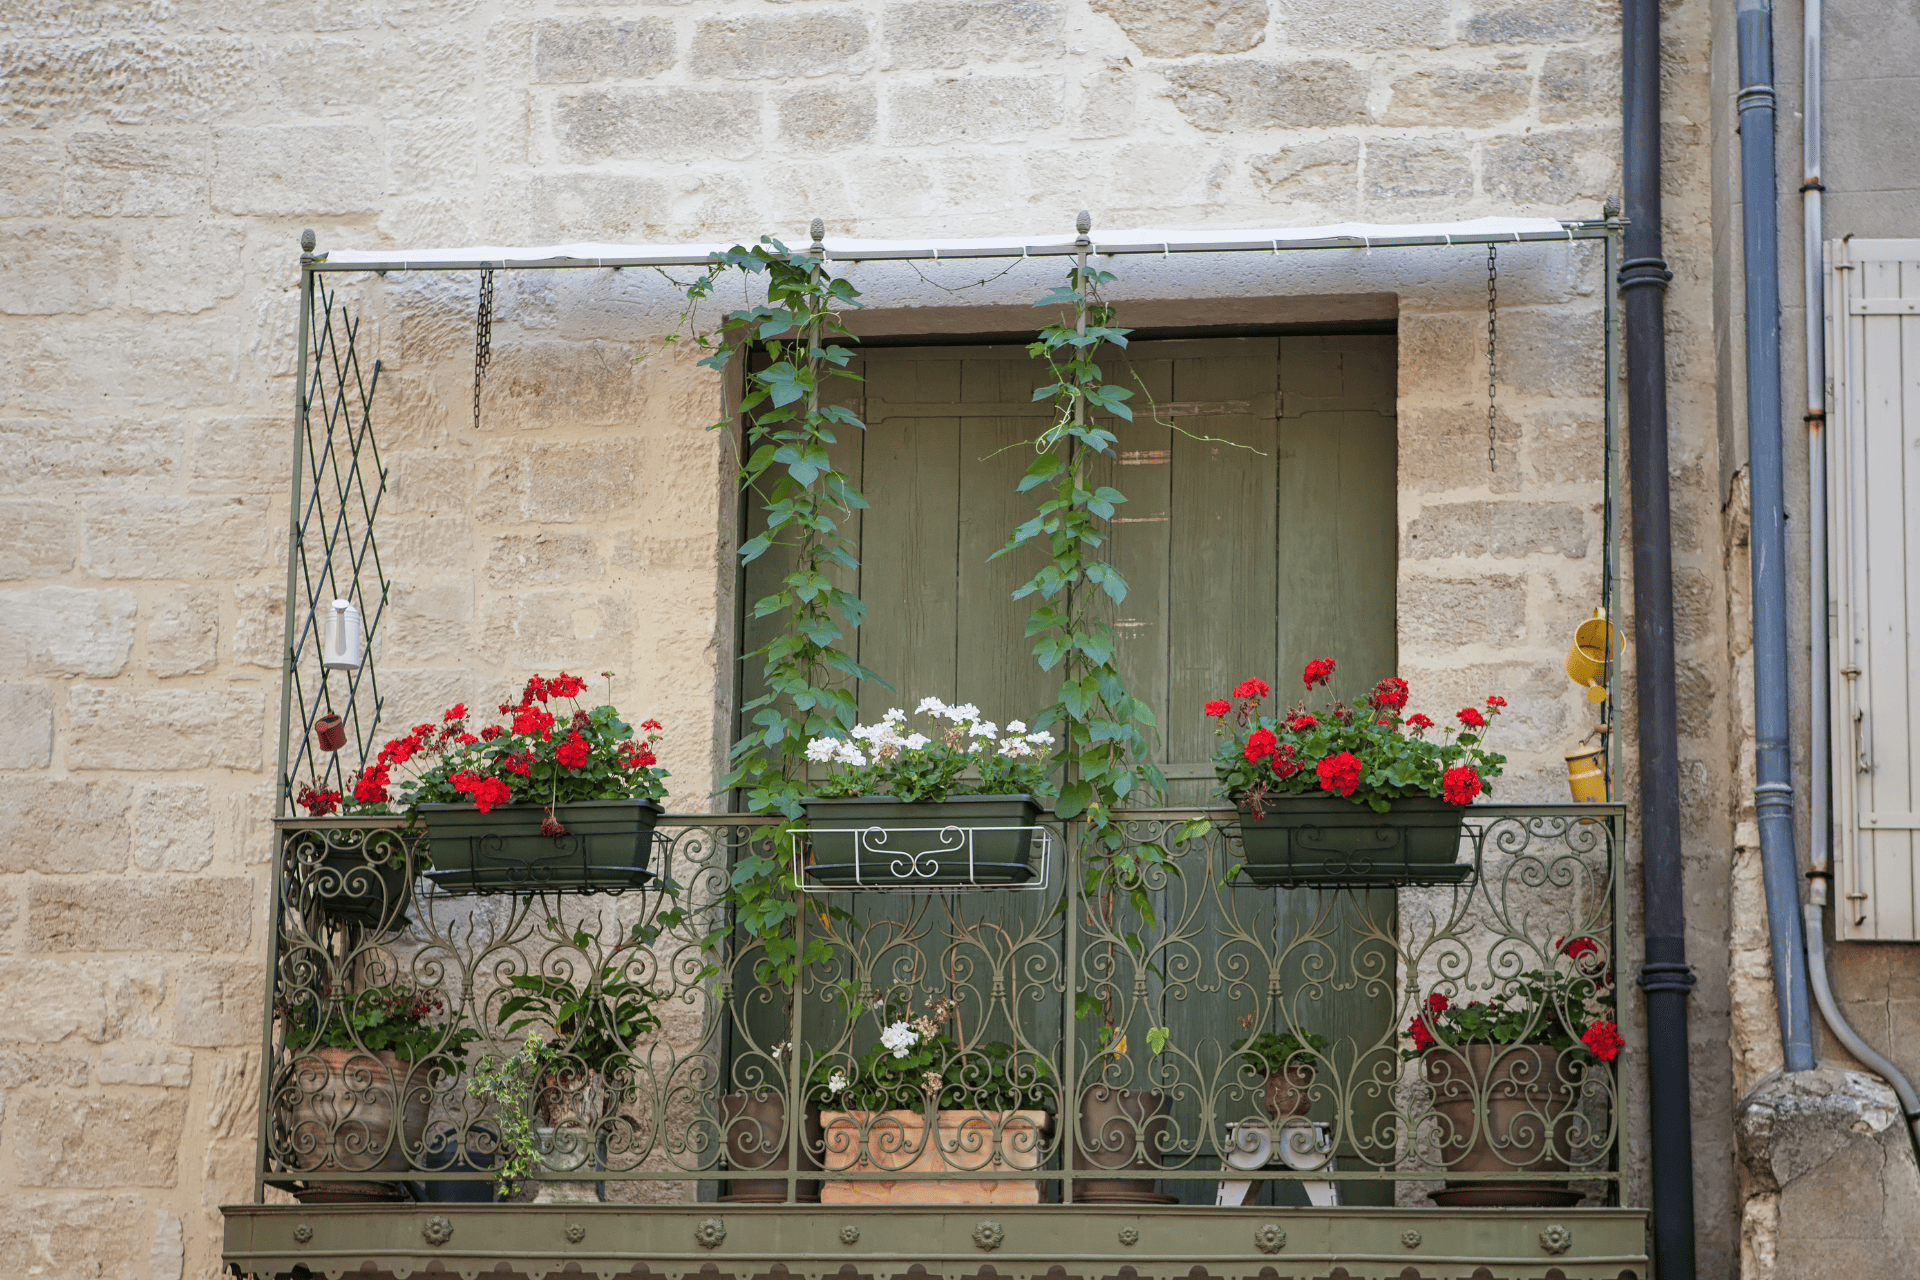
Just because you have a small space doesn’t mean it can’t look great. In fact, if you’ve ever stepped into a well-designed small home, you’ll often find that it feels much more cozy and homely than other larger homes. Similarly, when it comes to your outdoor area, with the right elements and proper arrangement, your small space can look cozy and welcoming, with the added benefit of requiring much less maintenance than a larger space. Here are 6 tips for turning your small outdoor space into a welcoming urban retreat. 1. Know What You’re Up Against To effectively plan and create a stunning and functional small landscape, you need to know the obstacles you’ll face so that you can effectively plan for and deal with them. Overcrowding One of the biggest challenges, or perhaps the biggest challenge with small landscapes, is overcrowding. Unlike with a larger space where you can easily fit a lawn, a water feature, a seating area, and a patio, and still have space for an outdoor kitchen, you don’t have that luxury with small areas. When you’re considering what to include in your small area, make sure to be very conscious of the measurements and arrangement, because even just a few items are enough to clutter up a landscape with limited space. Sunlight Exposure If you have a small space, there’s a good chance that a decent amount of it doesn’t get as much sunlight as other areas as those areas might be shaded by fences or your home building itself. With bigger spaces, you could just use that place as a seating area or something like a patio, or even just not use it. But with limited space available, you need to maximize every bit of it, so you have to find a way to make full use of even areas with lesser sunlight. So these are two extremely common challenges when trying to landscape a smaller space. With that in mind, almost all of these tips deal with those challenges in some way or another, so fret not, there are many ways to overcome them. 2. Vertical Gardens
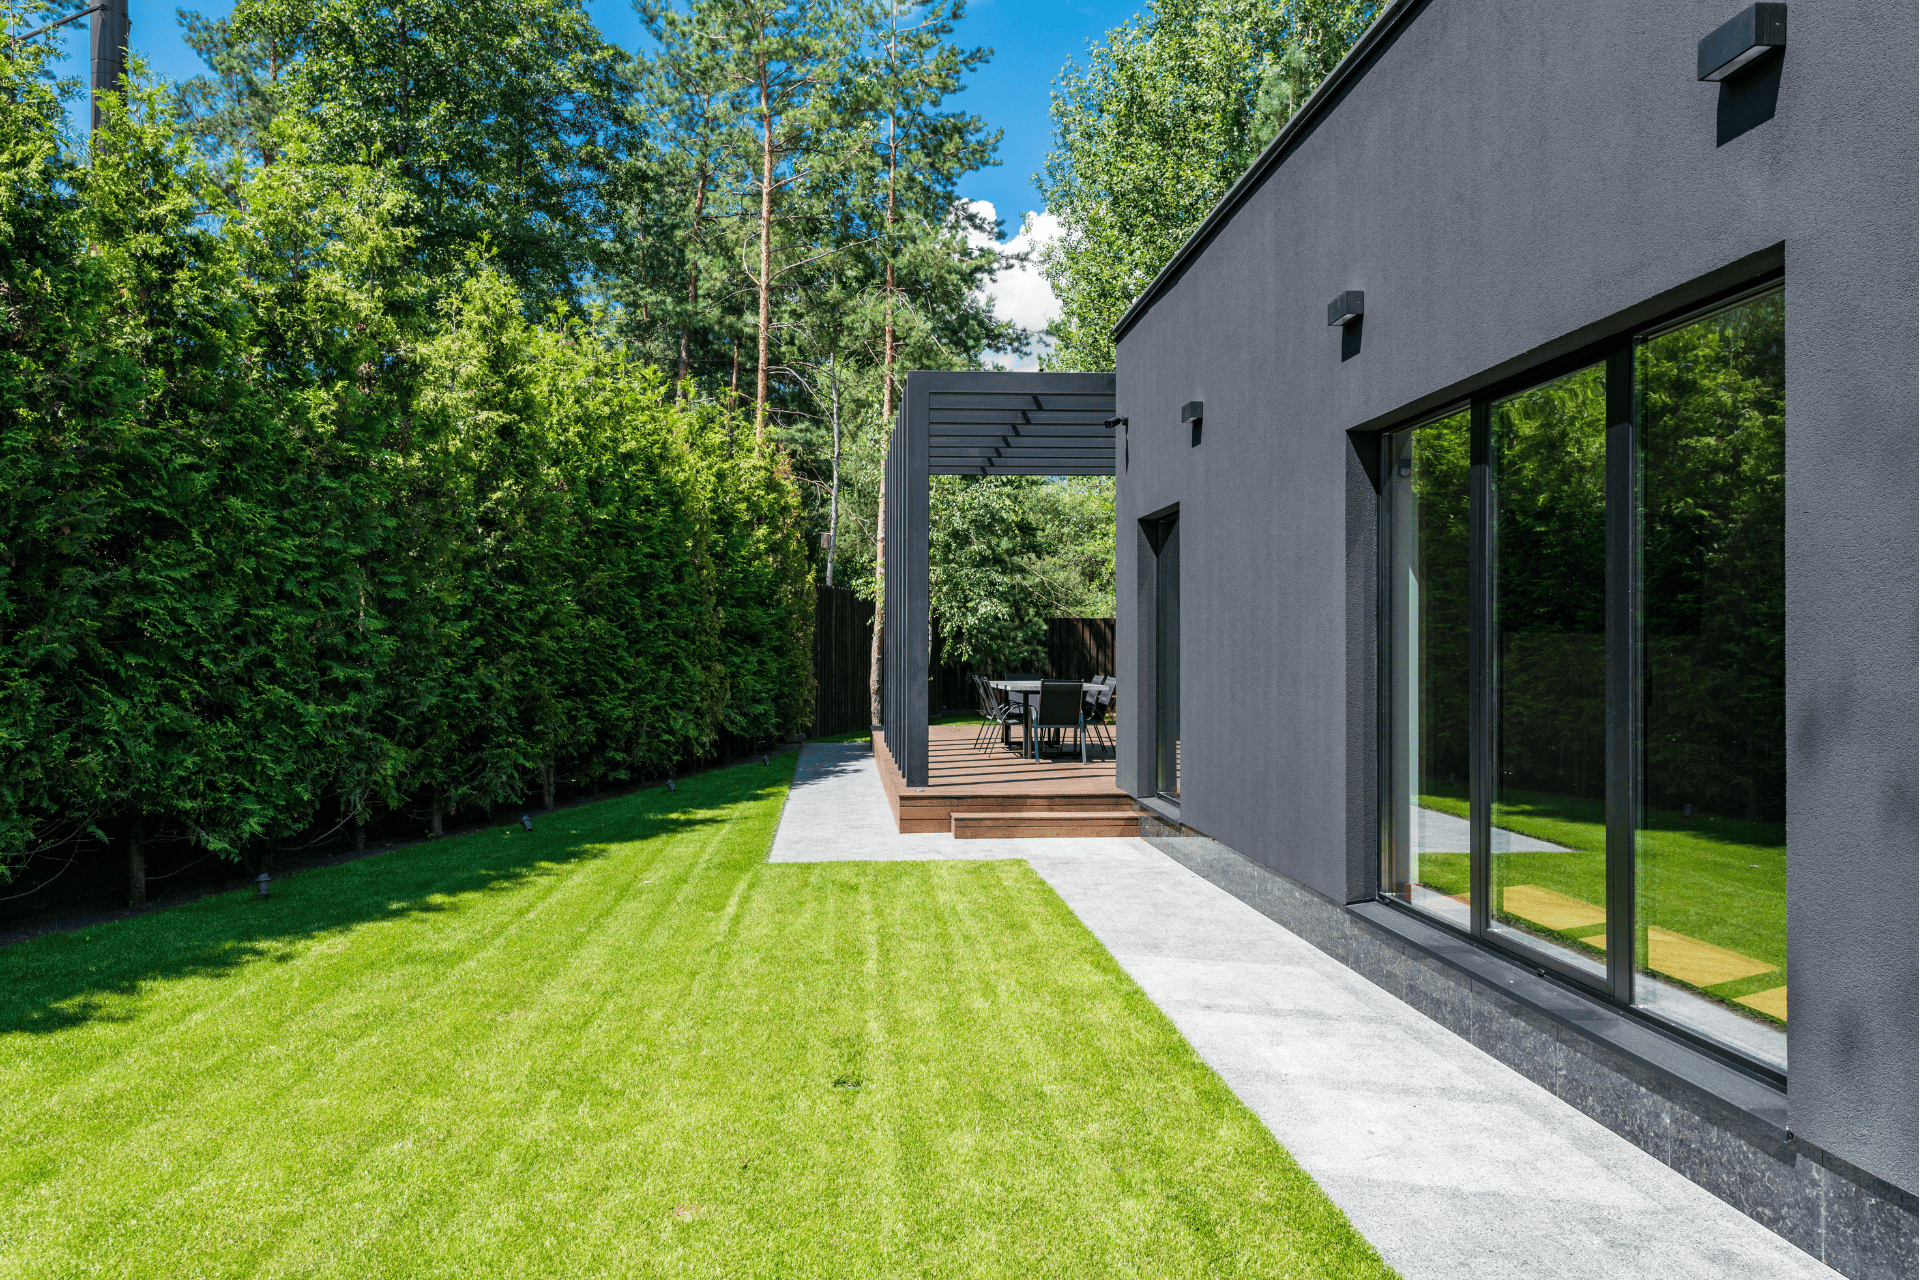
Over the years, with everything looking more sleek and modern, from buildings to cars, landscapes are no exception. Modern-day people have different preferences and needs from people in the past, and building styles are changing too, which means landscapes need to change along with them. Here are four modern landscaping styles to keep your home looking modern and trendy. 1. Minimalist

